Mobile bar trailers have become a popular choice for weddings, private parties, corporate events, festivals, and backyard celebrations. They are eye-catching, functional, and add a unique touch to any event.
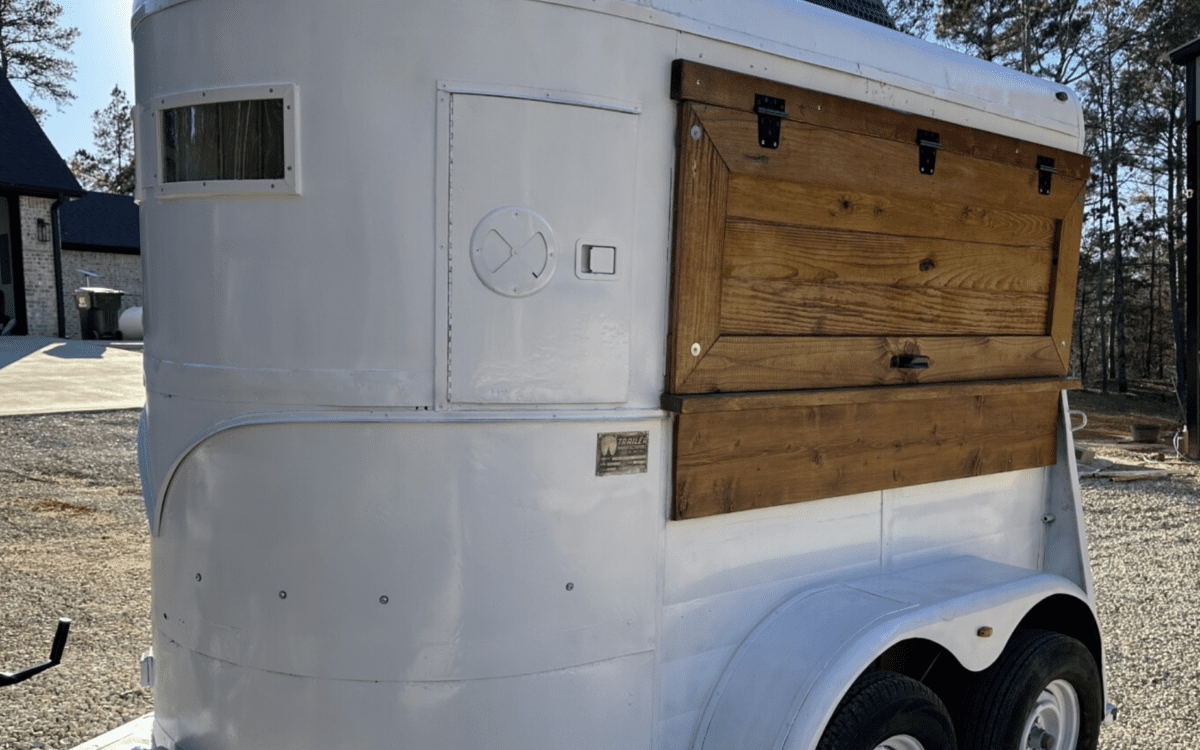
One of the most popular ways to create a mobile bar is by converting an old horse trailer. With the right planning, a horse trailer can be transformed into a charming bar setup with serving windows, storage, lighting, beer taps, and plenty of personality.
Before starting a DIY trailer build, it is important to remember that this type of project takes time, planning, and attention to safety. You will also need to check your state and local rules for liquor licensing, alcohol service, mobile vending, insurance, and event requirements before serving alcohol from a trailer.
Here is a step-by-step look at how to turn a horse trailer into a mobile bar trailer.
Step 1: Start With the Right Horse Trailer
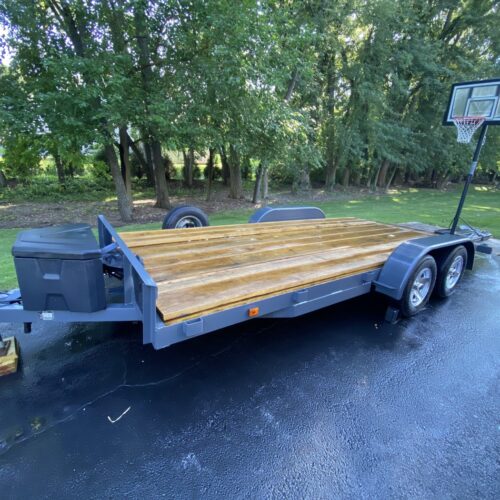
The first step is choosing the right trailer for the project. Many mobile bar builds start with a bumper pull horse trailer because they are a manageable size and have a classic look.
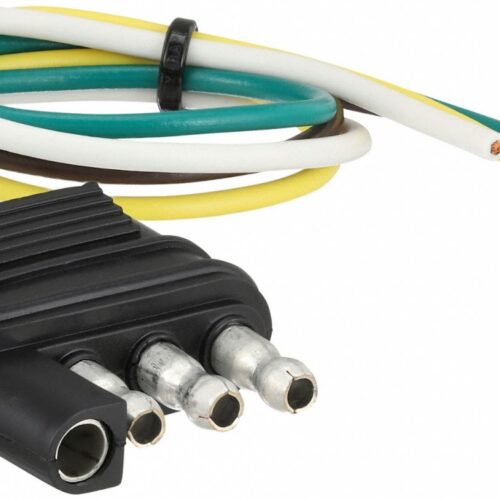
Before buying or renovating a trailer, inspect the frame, floor, axles, tires, hitch, wiring, and overall structure. A trailer may look cute from the outside, but it needs to be safe and roadworthy before you turn it into a business or event setup.
Look for signs of rust, water damage, weak flooring, poor welds, or major structural issues. If you are not sure what to look for, have a trailer repair shop or professional inspect it before you start the build.
Step 2: Plan the Layout
Before removing walls or buying materials, think through how the trailer will actually be used.
Ask yourself:
- Where will guests walk up to order?
- Will you have one serving window or two?
- Where will the bartender stand?
- Where will drinks, coolers, kegs, cups, and supplies go?
- Do you need a sink or handwashing station?
- Will you serve beer, wine, cocktails, coffee, lemonade, or mocktails?
- Do you need room for ice storage?
The layout should be both pretty and practical. A mobile bar trailer needs to look good from the outside, but the inside also needs to function well during a busy event.
Step 3: Clean and Strip the Interior
Once you have a plan, start by cleaning out the trailer completely. Remove old mats, dividers, damaged boards, rusted hardware, and anything you do not plan to keep.
This is also the time to deep clean the trailer and check for any hidden issues. Horse trailers can hold dirt, moisture, and odors, so take your time with this step.
After everything is removed, inspect the floor and walls again. Replace anything that is weak, damaged, or unsafe.

Step 4: Repair the Frame, Floor, and Exterior
Before adding bar features, make sure the trailer itself is solid. This may include repairing rust, replacing the floor, checking the roof, sealing leaks, updating tires, fixing lights, and making sure the hitch and safety chains are in good condition.
This is not the area to cut corners. A mobile bar trailer may be parked at events, but it still has to be hauled safely from place to place.
If welding, electrical work, or structural repairs are needed, consider hiring a professional. A cute trailer is not worth much if it is not safe to tow.
Step 5: Add a Serving Window
A serving window is one of the biggest features of a mobile bar trailer. Many builders cut an opening into the side of the trailer and add a flip-up window or serving hatch.
This creates a space where guests can walk up, order drinks, and interact with the bartender.
When planning the window, think about height, size, support, and weather protection. The window should be easy to open and close, secure while traveling, and strong enough to handle regular use.
You may also want to add a small exterior counter or fold-down bar ledge for serving drinks.

Step 6: Build the Bar Counter
Inside the trailer, you will need a bar counter or work surface. This is where drinks will be poured, garnishes will be prepped, and supplies will be organized.
Choose a durable material that can handle spills, moisture, and frequent cleaning. Butcher block, sealed wood, stainless steel, or solid surface materials are all common options.
Make sure the bar height is comfortable for the person working inside the trailer. You should also leave enough room to move around safely.

Step 7: Plan for Beer Taps and Keg Storage
If you want your mobile bar trailer to serve draft beer, you will need to plan for beer taps, keg storage, and a cooling system.
A basic draft setup may include:
- Beer taps
- Tap handles
- Beer lines
- CO2 tank
- Regulator
- Keg couplers
- Drip tray
- Keg storage area
- Cooling system or kegerator
The taps can be installed on the bar counter, through a wall, or on a custom draft tower depending on the look and layout you want.
Kegs need to stay cold, so you will need to decide whether you are using a built-in kegerator, jockey box, cooler system, or another setup. You should also make sure the CO2 tank is stored safely and secured during transport.
If you are not familiar with draft systems, it may be worth working with someone who understands beer tap installation and maintenance. A good tap setup can make service smoother and help avoid foam, leaks, and wasted product.
Step 8: Add Storage for Cups, Mixers, and Supplies
A mobile bar trailer needs more storage than you may think. Even a simple event setup can require cups, napkins, straws, mixers, garnishes, ice, bottled drinks, cleaning supplies, trash bags, towels, tools, and backup items.
Add cabinets, shelving, bins, drawers, or built-in compartments to keep supplies organized. Make sure everything can be secured while the trailer is moving.
Open shelves may look nice for photos, but items need to be packed away or strapped down before travel.
Step 9: Think About Water and Sink Needs
Depending on how you plan to use the trailer, you may need a sink, handwashing station, freshwater tank, gray water tank, or portable water setup.
Requirements can vary depending on your state, county, event type, and whether you are serving alcohol, nonalcoholic drinks, coffee, food, or packaged beverages.
Before installing plumbing, check with your local health department, alcohol control board, and event venues to understand what may be required.
Even if a full plumbing system is not required for every event, having a clean handwashing setup and a plan for spills can make your trailer more professional and easier to operate.
Step 10: Add Electrical and Lighting
Lighting can make a huge difference in how your bar trailer looks and functions. You may want interior lights, exterior lights, under-counter lighting, outlets, a small refrigerator, a kegerator, fans, or a sound system.
Electrical work should be planned carefully. Think about whether you will use shore power, a generator, battery power, or a combination.
For safety, it is best to have electrical work completed or reviewed by a professional. Events often run for hours, and you do not want to deal with power problems in the middle of service.
Step 11: Choose the Look and Branding
Once the main build is complete, you can focus on the fun part: the design.
A converted horse trailer bar can be rustic, western, modern, coastal, retro, colorful, elegant, or fully branded for a business. Paint, signage, lighting, wood finishes, tile, wallpaper, curtains, and decor can all help bring the look together.
If you plan to use the trailer as a business, think about your brand from the beginning. Consider your trailer name, logo, colors, website, social media handle, and signage.
The outside of the trailer should be photo-worthy, but the inside should still be easy to clean and maintain.

Step 12: Check Licensing, Permits, and Insurance
Before serving alcohol from a mobile bar trailer, check your state and local laws. This is one of the most important steps in the entire process.
Depending on where you live and how you operate, you may need:
- A state liquor license
- A caterer’s alcohol permit
- Temporary event permits
- Local business licenses
- Mobile vending permits
- Health department approval
- Insurance coverage
- Venue approval
- Bartender/server certification
Rules can vary by state, county, city, and even by event venue. Some mobile bars operate as “dry hire” bars, where the client provides the alcohol and the mobile bar provides the setup and bartending service. Others may be licensed to sell or serve alcohol directly. The rules are not the same everywhere, so do not assume one setup works in every state.
Before booking events, contact your state alcohol control board, local licensing office, insurance provider, and possibly an attorney or accountant. This can help you understand what is allowed and what paperwork is required.
Step 13: Do a Test Event
Before using your trailer for a paid event, do a test run. Set everything up as if you were serving at a real event.
Check how long setup takes, where supplies fit, how the taps pour, whether the lighting works, how much ice you need, where trash goes, and how easy it is to move around inside the trailer.
A test event can help you catch small problems before they happen in front of customers.
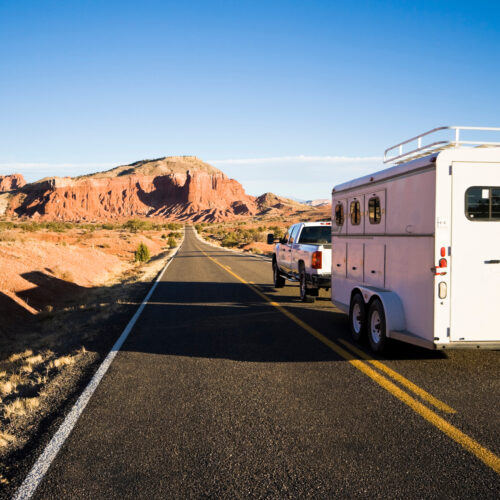
Step 14: Plan for Towing and Setup
A mobile bar trailer still needs to be hauled safely. Before every event, check the tires, lights, hitch connection, safety chains, brake controller if needed, and overall trailer condition.
You should also think through the event location. Can the trailer fit through the entrance? Is the ground level? Will you need wheel chocks or stabilizers? Is there access to power? Is there enough room for guests to walk up safely?
A beautiful bar trailer is only useful if you can get it to the event and set it up properly.
Final Thoughts
Turning a horse trailer into a mobile bar trailer can be a creative and rewarding DIY project. With the right trailer, smart layout, safe repairs, beer taps, storage, lighting, and a strong design, an old horse trailer can become a unique setup for weddings, parties, festivals, and private events.
The most important part is planning ahead. Make sure the trailer is safe to tow, the bar is functional, and your business setup follows the rules in your state and local area.
Before serving alcohol, always check licensing, permits, insurance, venue requirements, and local regulations. Rules can vary widely, and it is better to get the right answers before your first event.
Whether you are building a mobile bar for your own events or starting a side business, a horse trailer conversion can turn an unused trailer into something memorable, useful, and full of personality.