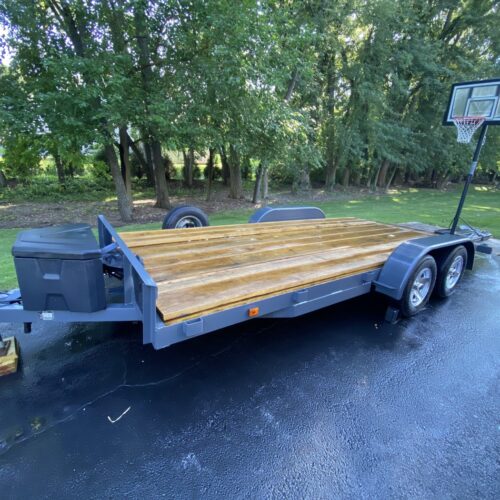
Whether you’re towing a boat, hauling cargo, or traveling with a camper, properly functioning brakes on your trailer are essential for safety on the road. Over time, brake components can wear down, leading to decreased stopping power and potential safety hazards. If you notice squeaking, grinding, or reduced braking performance, it might be time to replace your trailer brakes. While this task might seem daunting, with the right tools and a methodical approach, you can replace trailer brakes yourself. Here’s a step-by-step guide to help you through the process:
1. Gather Necessary Tools and Materials:
Before you begin, ensure you have all the tools and materials you’ll need for the job. These typically include:
- New brake pads or shoes
- Brake drums or rotors (if needed)
- Brake cleaner
- Brake grease
- Adjustable wrench or socket set
- Jack and jack stands
- Lug wrench
- C-clamp or brake caliper tool
- Wire brush
- Safety goggles and gloves
2. Prepare Your Workspace:
Find a level, well-lit area to work on your trailer. Ensure you have enough space to maneuver and access the brake components easily. Before lifting the trailer, chock the wheels to prevent it from rolling.
3. Lift and Secure the Trailer
Using a jack, lift the trailer off the ground and place jack stands under the frame for support. Make sure the trailer is stable and secure before crawling underneath.
4. Remove the Wheels
Using a lug wrench, loosen the lug nuts on the wheels. Once loose, carefully remove the wheels and set them aside.
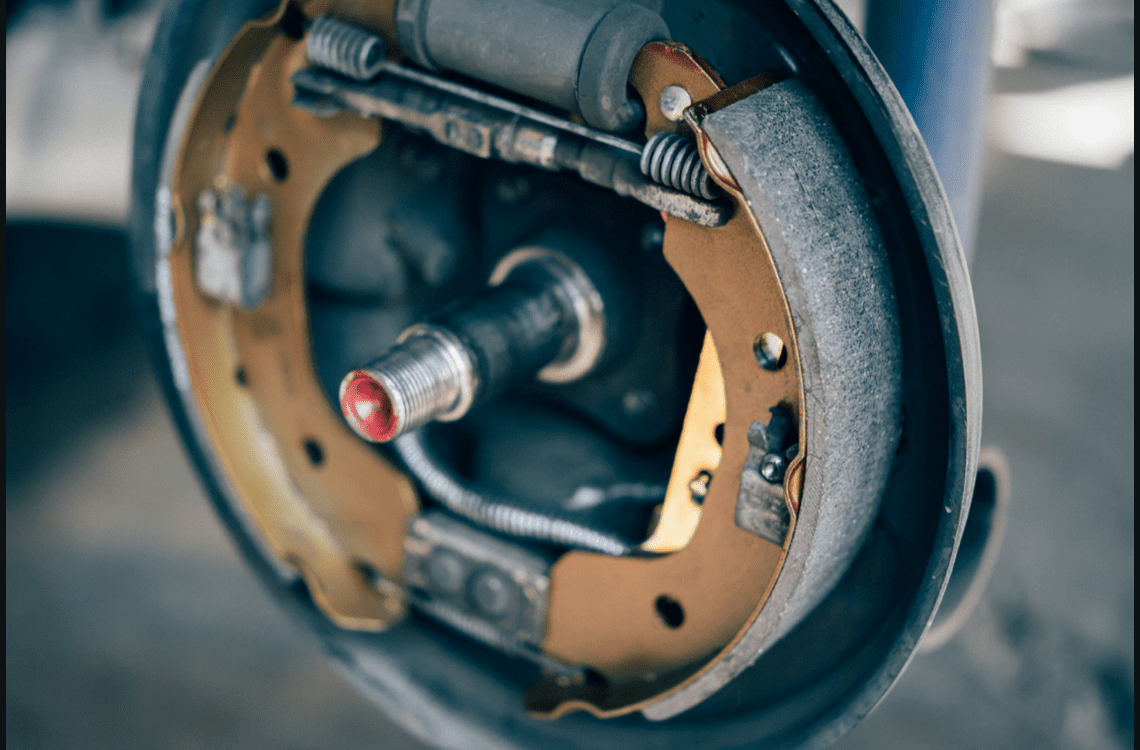
5. Inspect the Brakes:
Before removing any components, inspect the brakes for wear and damage. Look for worn brake pads or shoes, damaged drums or rotors, and any signs of leaks or corrosion.
6. Remove the Brake Assembly:
Depending on your trailer’s brake system, you may need to remove the brake drum or rotor to access the brake assembly. Use an adjustable wrench or socket set to loosen and remove the bolts holding the assembly in place.
7. Replace Brake Pads or Shoes:
If your trailer has disc brakes, carefully remove the old brake pads and replace them with new ones. Use a C-clamp or brake caliper tool to compress the caliper piston before installing the new pads.
For trailers with drum brakes, remove the springs and clips holding the brake shoes in place. Replace the old shoes with new ones, ensuring they are properly seated and aligned.
8. Clean and Lubricate:
Before reassembling the brake components, use brake cleaner to remove any dirt, grease, or debris. Apply brake grease to the contact points and moving parts to prevent squeaking and ensure smooth operation.
9. Reassemble the Brake Assembly:
Carefully reassemble the brake components in the reverse order of removal. Tighten bolts securely and ensure all parts are properly aligned.
10. Test the Brakes:
Once everything is reassembled, lower the trailer off the jack stands and reinstall the wheels. Tighten the lug nuts securely, then test the brakes to ensure they are functioning correctly. Gradually apply pressure to the brake pedal or lever and listen for any unusual noises or vibrations.
11. Final Check:
Take the trailer for a test drive in a safe area to ensure the brakes are working properly. Pay attention to stopping distance and brake responsiveness. If everything seems to be in order, you’re all set to hit the road with confidence!
Replacing the brakes on your trailer might seem like a challenging task, but with the right tools and know-how, it’s something you can tackle yourself. By following this step-by-step guide and taking your time, you can ensure your trailer’s brakes are in top condition, providing safety and peace of mind on your journeys.
Remember, if you’re ever unsure about any aspect of the brake replacement process, don’t hesitate to seek professional assistance. Safety should always be the top priority when working on any vehicle.
Happy towing!