Installing a trailer hitch on your vehicle is a great way to add versatility and functionality, whether you’re planning to tow a small trailer, bike rack, or cargo carrier. While the process can seem daunting, with the right tools and a bit of patience, you can successfully install a trailer hitch yourself. This guide will walk you through the steps to install a basic trailer hitch.
Tools and Materials Needed
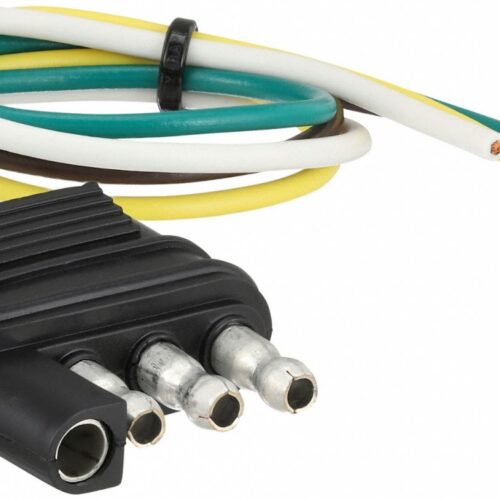
- Trailer hitch kit (ensure it’s compatible with your vehicle)
- Socket wrench setTorque wrench
- Jack and jack stands (if necessary for clearance)
- Safety glasses and gloves
- WD-40 or a similar lubricant
- Wire brush or sandpaper (for cleaning bolt holes)
1: Choose the Right Hitch
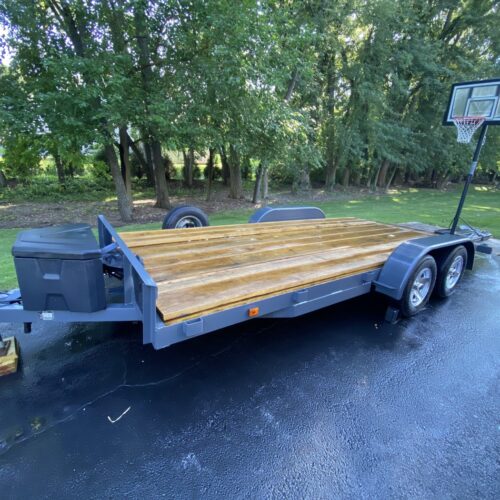
Make sure you have the correct trailer hitch for your vehicle. Trailer hitches come in various classes, each designed for different weights and purposes. Check your vehicle’s manual or consult with an expert to determine the appropriate hitch class.
2: Prepare Your Vehicle
- Park Safely: Park your vehicle on a flat surface and engage the parking brake. If necessary, lift the rear of the vehicle using a jack and secure it with jack stands for better access.
- Clean Bolt Holes: Locate the pre-drilled holes on your vehicle’s frame where the hitch will be mounted. Clean these holes using a wire brush or sandpaper to remove any dirt, rust, or debris. Applying a bit of WD-40 can help loosen any stubborn grime.
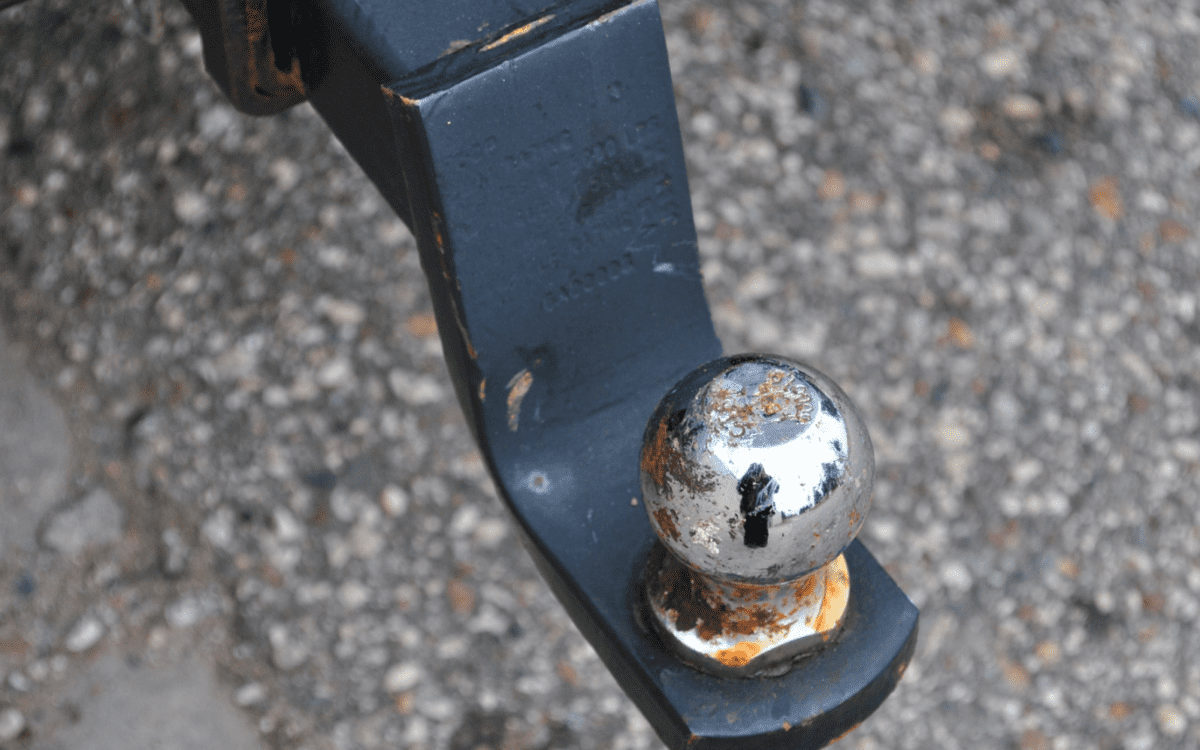
3: Position the Hitch
- Align the Hitch: With the help of a friend (or using a jack to hold the hitch in place), align the trailer hitch with the pre-drilled holes on the frame of your vehicle.
- Insert Bolts: Insert the bolts through the hitch and into the frame holes. Hand-tighten each bolt to hold the hitch in place.
4: Secure the Hitch
- Tighten Bolts: Using a socket wrench, tighten the bolts. Refer to the trailer hitch kit’s instructions for the specific torque specifications.
- Torque Bolts: Once all bolts are hand-tightened, use a torque wrench to tighten them to the specified torque settings. This step is crucial to ensure the hitch is secure and can safely handle the weight it’s rated for.
5: Double-Check Your Work
- Inspect the Installation: Verify that all bolts are tightened to the correct specifications and that the hitch is securely attached to the vehicle frame.
- Test Fit Accessories: If you plan to use a bike rack, cargo carrier, or trailer, test fit these accessories to ensure the hitch is properly aligned and functions as expected.
6: Safety Checks
- Review Weight Limits: Check the weight limits for your hitch and ensure your vehicle can safely tow the intended load. Overloading your hitch can lead to serious safety issues.
- Regular Inspections: Periodically check the hitch and bolts for signs of wear or loosening, especially after long trips or heavy use.
Installing a trailer hitch can expand your vehicle’s capabilities, allowing you to tow trailers, carry bikes, and more. By following these steps and ensuring you have the right tools and hitch for your vehicle, you can confidently install a trailer hitch and enhance your vehicle’s functionality. Remember, safety is paramount, so always adhere to the manufacturer’s guidelines and perform regular maintenance checks.
Happy towing!